PayLink Learning Center
Adding Product Images
Overview
Adding images is a great way to improve your customers’ experience and helps them choose what to order. You can upload your own product images, or you can select one from the Image Library. Image Library contains default and vector images which can be used to represent your products. To upload your own photo, use the Upload button, rotate and crop.

How to upload custom product images
1. Once logged in, navigate to the Products 〉 Products page.
2. Click on an existing product or click Create New.
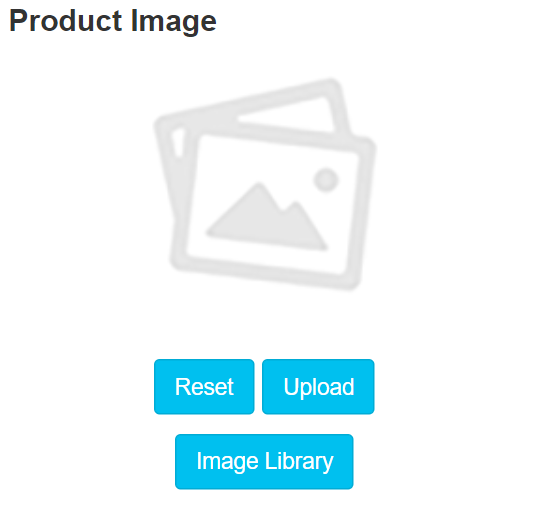
3. Scroll down on the page to the Product Image section.

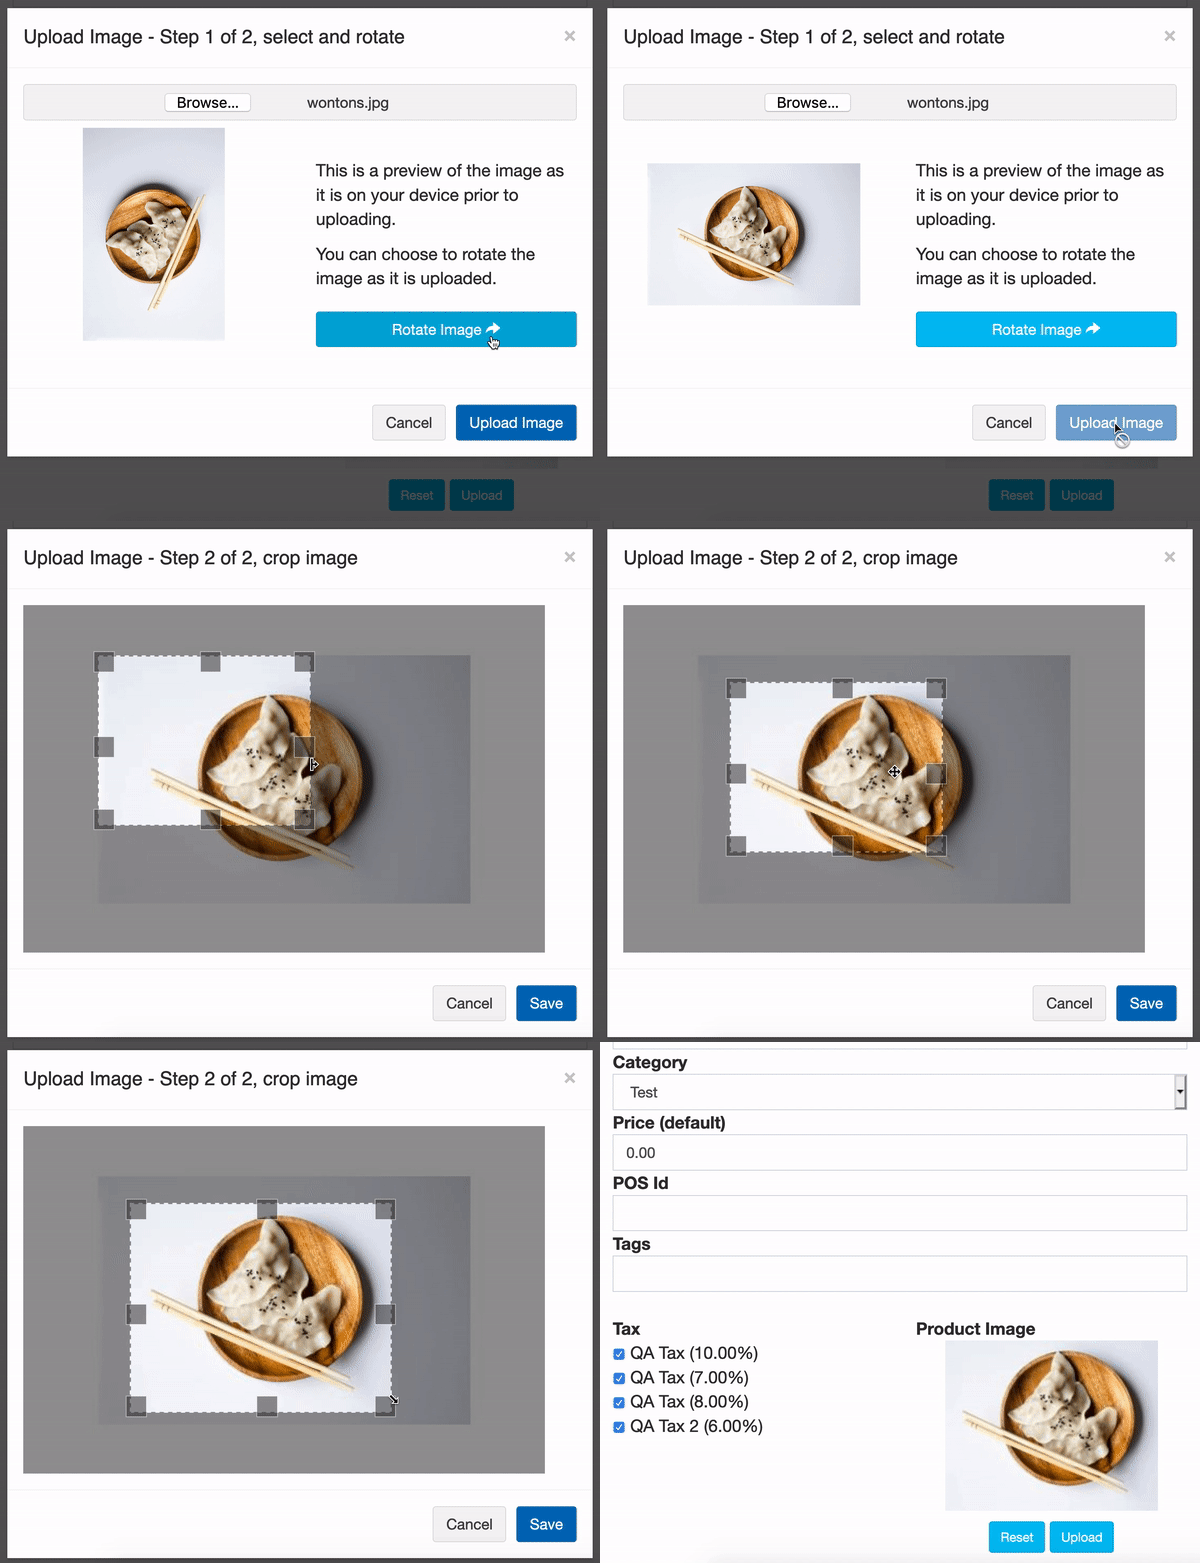
4. Click the Upload button.
5. Select a file, and rotate the image.

6. Crop the image.
- When adding your own photos to upload make sure that product images are not too zoomed in. See the image library for examples.

- Ensure portion sizes and ingredients are accurately represented.

7. Click Save.
⇒ Requirements:
- JPEG or PNG
- Recommend at least 800px x 800px resolution
How to add product images using the image library
1. Head to the Products 〉 Products page.
2. Click on an existing product or click Create New.

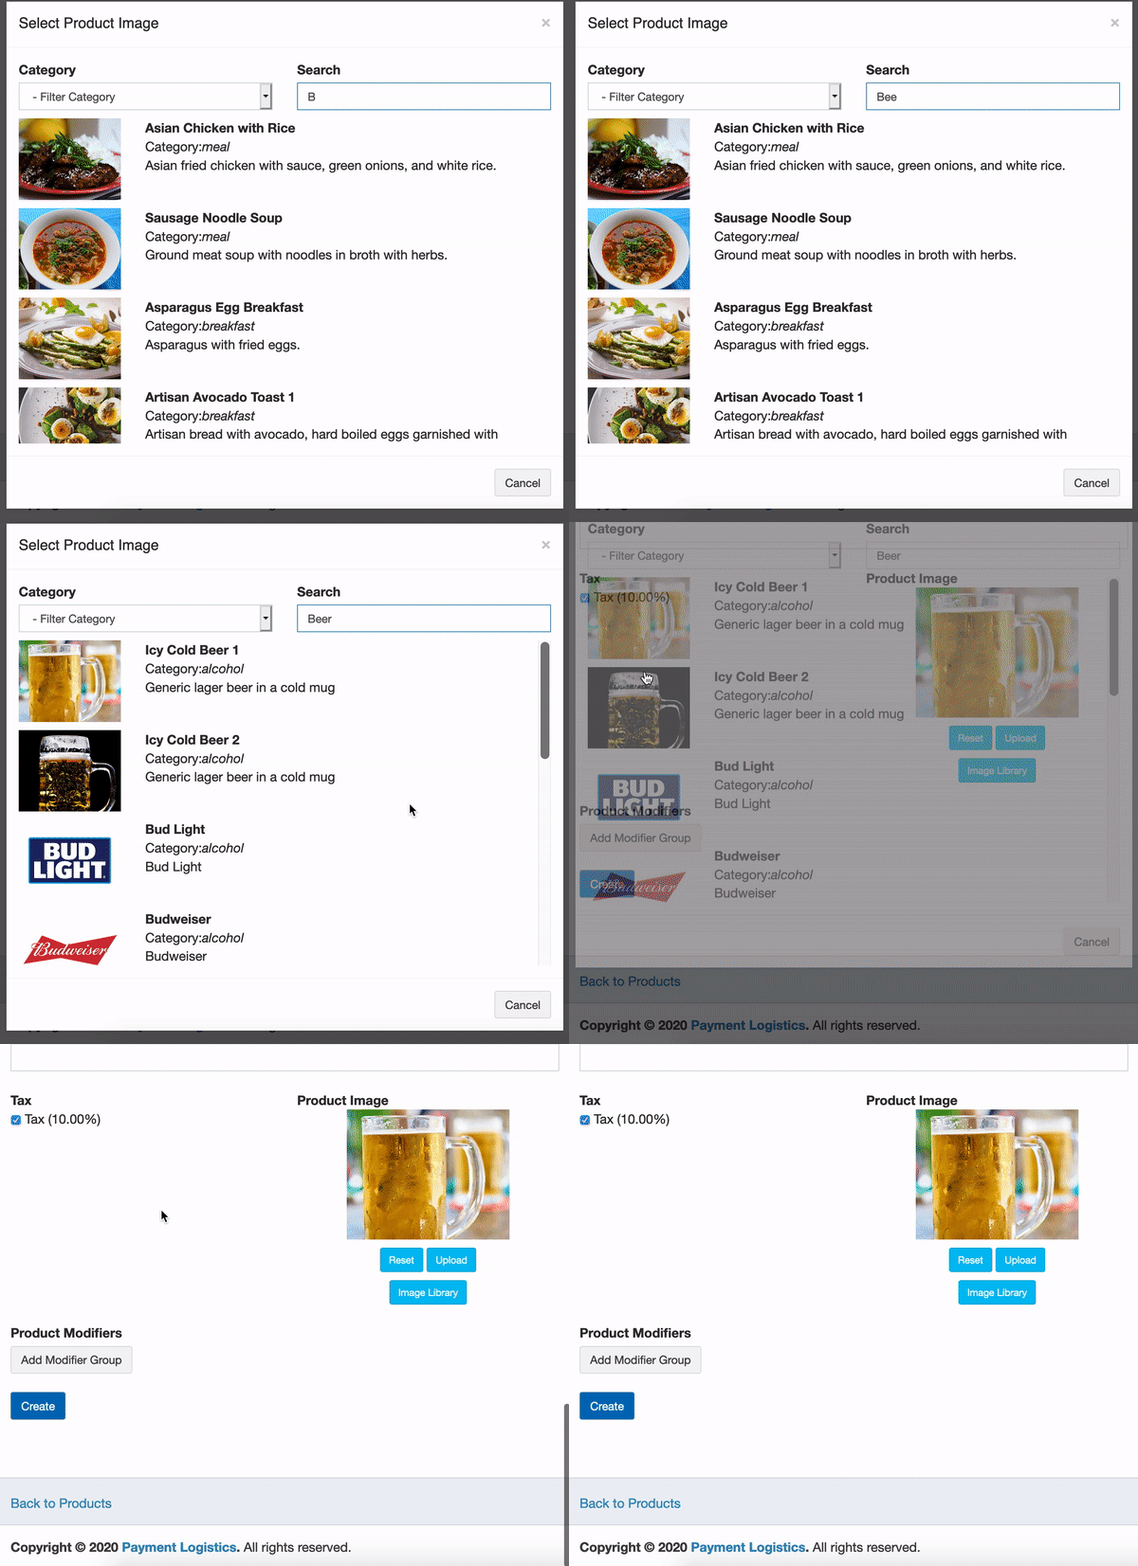
3. Scroll down on the page to the Product Image section.

4. Find and click on the image.

5. Click Save or Create at the bottom page.
![]()

