PayLink Learning Center
Creating Tax Rates
last updated May 5th, 2021
Overview
If your products require taxes, you’ll first want to create a Tax Rate in PayLink, after which you can assign to individual products. When a customer makes a purchase, they will automatically be charged for the product + tax.
- Note: multiple taxes can be assigned to a product, which is useful for applying special taxes to items (e.g., Recycling Fees).
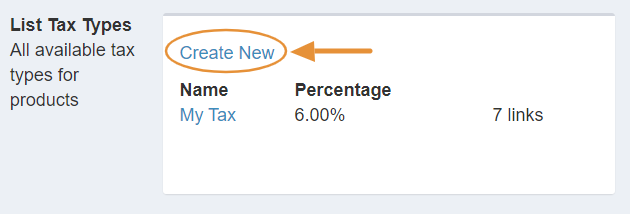
The links section represents how many products the tax rate is assigned to. For example, “10 links” means that the tax rate is assigned to 10 different products, and “0 links” would indicate that the tax rate is not currently applied to any products.
How to create a Tax Rate
1. Once logged in, navigate to Products 〉 Tax Rates.
2. Click on Create New.
3. Enter a new name for the tax. 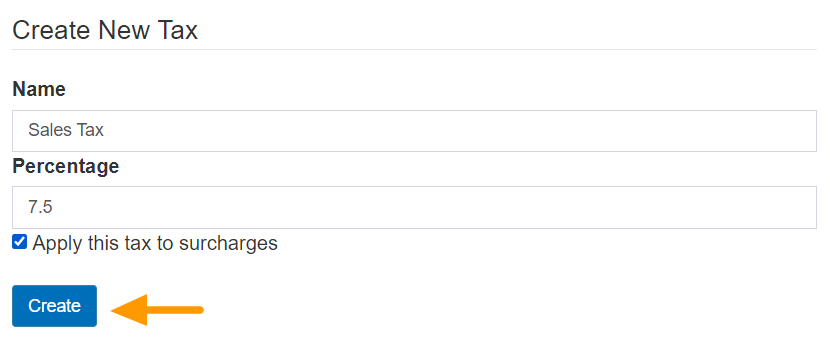
4. Enter a percentage.
- Note: If you’re using room service and you‘d like to make the service charge fee taxable, then select the ☑ Apply this tax to surcharges checkbox.
5. Click the Create button.
Your new tax rate will be displayed on the page at Products 〉 Tax Rates.
How to apply a Tax Rate to a Product
1. Navigate to the Products edit or create page at Products 〉 Products.
2. Select an existing product to edit or create a new one.
3. Select the checkbox for the Tax Rates you want to apply.
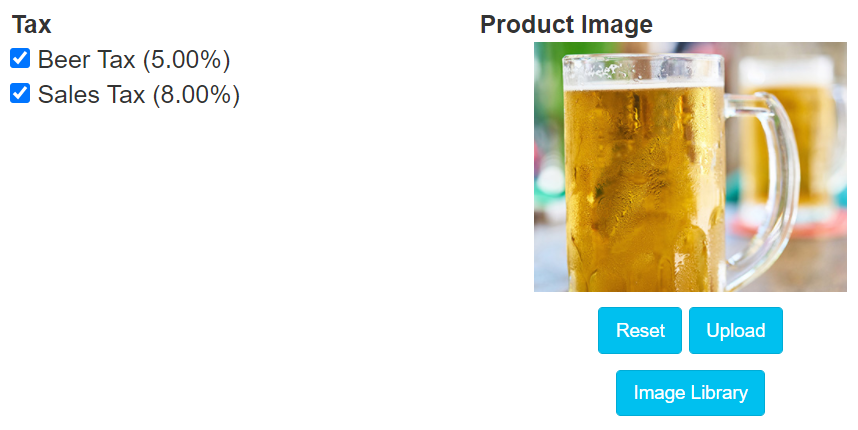
4. Save
![]()
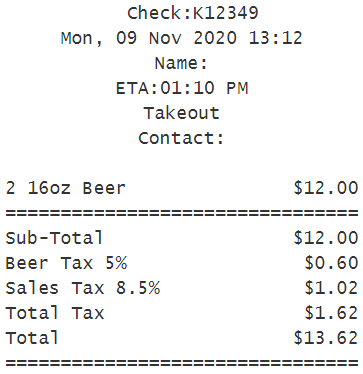
- Note: Taxes on orders are viewable from the digital receipt and applied per product. Use the Sales Report for a daily overview of tax totals.