PayLink Learning Center
How to get started: Set up PayLink in Ricochet POS
last updated January 13th, 2023
Video Walkthrough
Getting Started
1. Log in to Ricochet POS and navigate to Preferences >> Integrations on the left view pane.
2. Select the PayLink tab
3. Enter your PayLink Username and Password and press “Connect”. These are the credentials from your PayLink account (make sure you have already registered for a PayLink account).
- Note: If you need to reset your login information or forgot your password, select the Forgot Password? link on the login screen of the PayLink web portal. You can also reset your password by clicking here.
4. You have now enabled PayLink payment processing in Ricochet POS.
Connecting the Payment Device to Ricochet POS
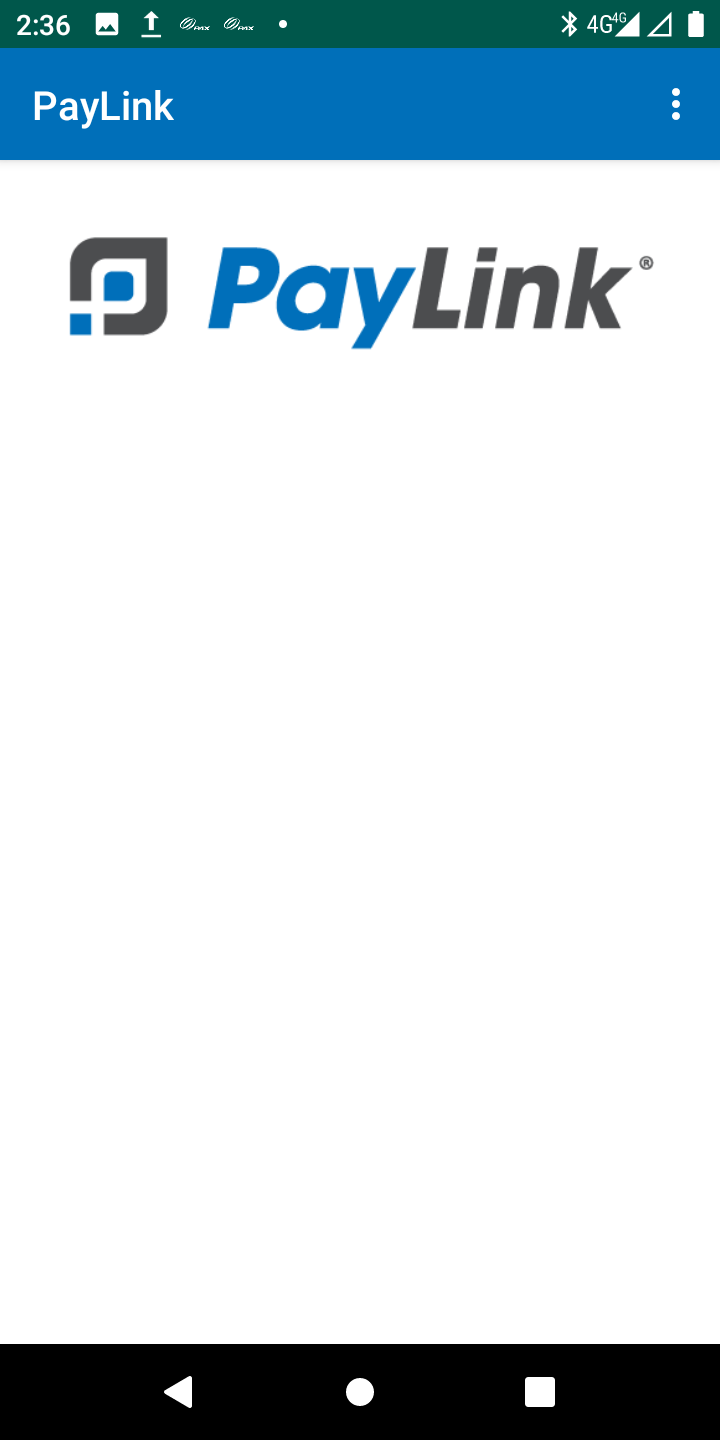
The PAX payment device will arrive connected to your account and ready to process. Once you power on the PAX payment device, the following image will display, making the device ready to use once you have connected the credit card terminal to internet:

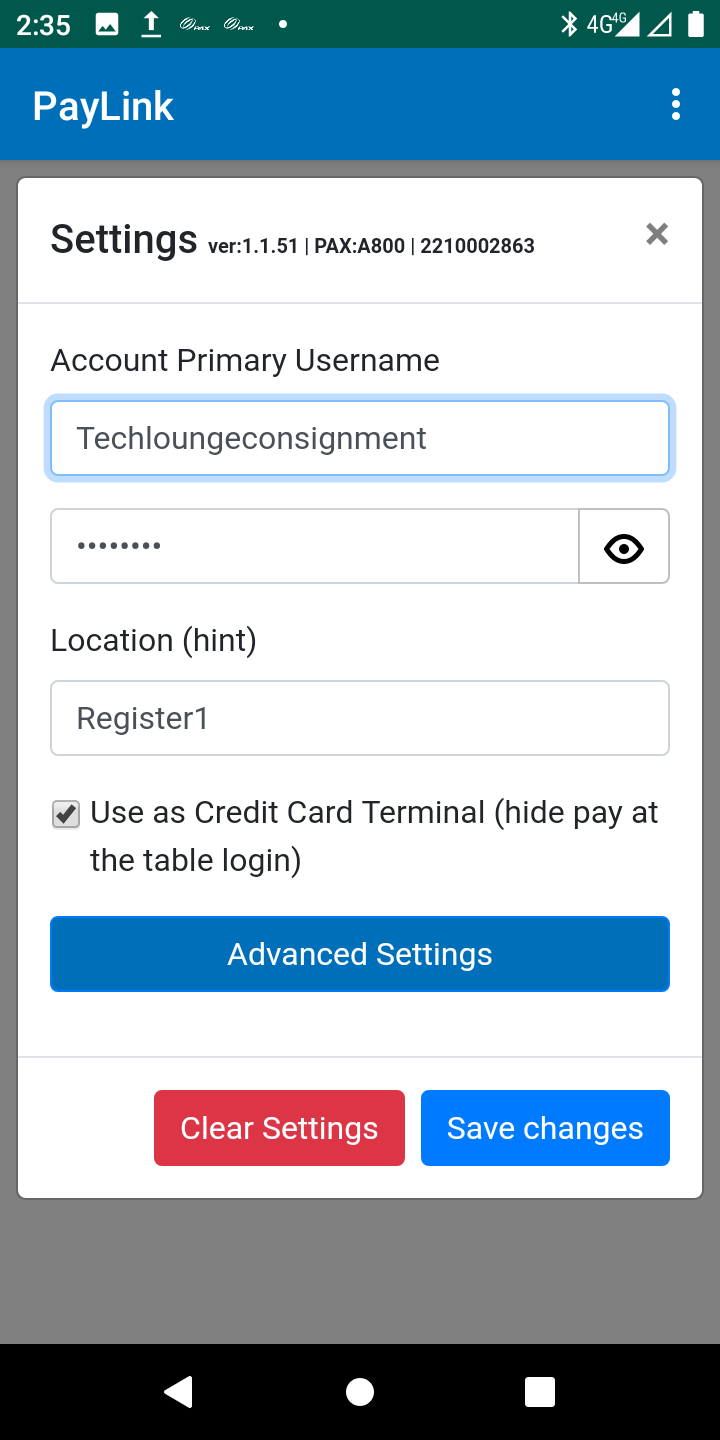
There may be some situations where the PayLink App starts up on a different screen asking for Username, Password, and Location:

When the PayLink App launches requesting this information, fill out the information as follows once you have confirmed that the device is connected to internet in order to complete setting up the PAX payment device to Ricochet POS:
- Account Primary Username: Enter your PayLink Username obtained in the previous step.
- Password: Enter your PayLink Password created during previous step.
- Location (hint): This is the name of the device for easier lookup in Ricochet. We recommend Terminal1 or Register1, naming the next device Terminal2 or Register2 if there are multiple devices.
- Use as Credit Card Terminal: Make sure to check this box.
After pressing "Save Changes" a blank screen will display the PayLink logo. You have now completed the setup of your payment device and are ready to process transactions securely.
No questions yet.

