PayLink Learning Center
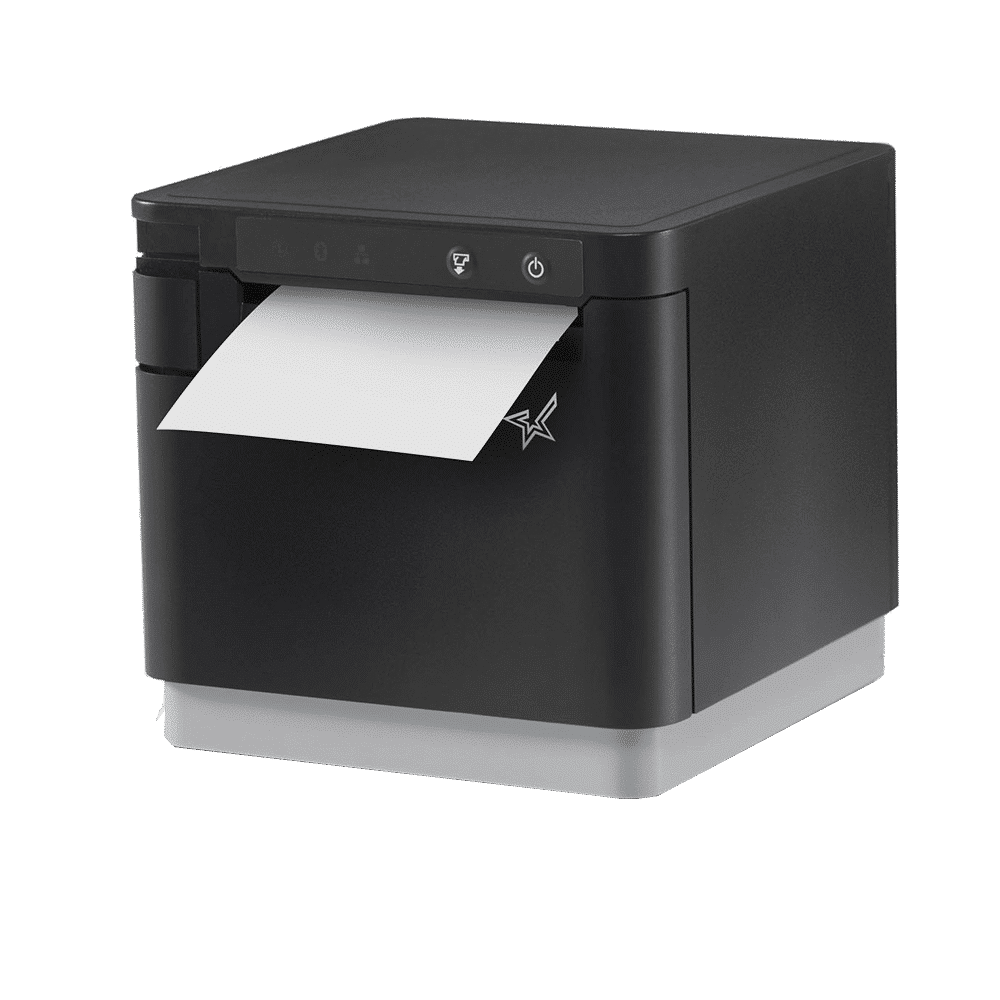
How to connect a compatible STAR printer to PayLink

1. Power off the printer by holding down the power button for 5 seconds (for Model SP742 use power switch).
2. Hold down the feed button, then press and release the power button (for Model SP742 turn on via power switch), and continue holding the feed button until a configuration page prints.
3. On the configuration printout, find the IP Address of the device.
4. On a PC, phone, or tablet on the same network as your printer, open a browser and navigate to the IP Address from step 3. This will take you to the STAR Network Utility.
5. On the left-hand side under System Access, click Login.
6. If you are prompted for a username and password, and this is your first time setting up the printer, enter:
username: root
password: public
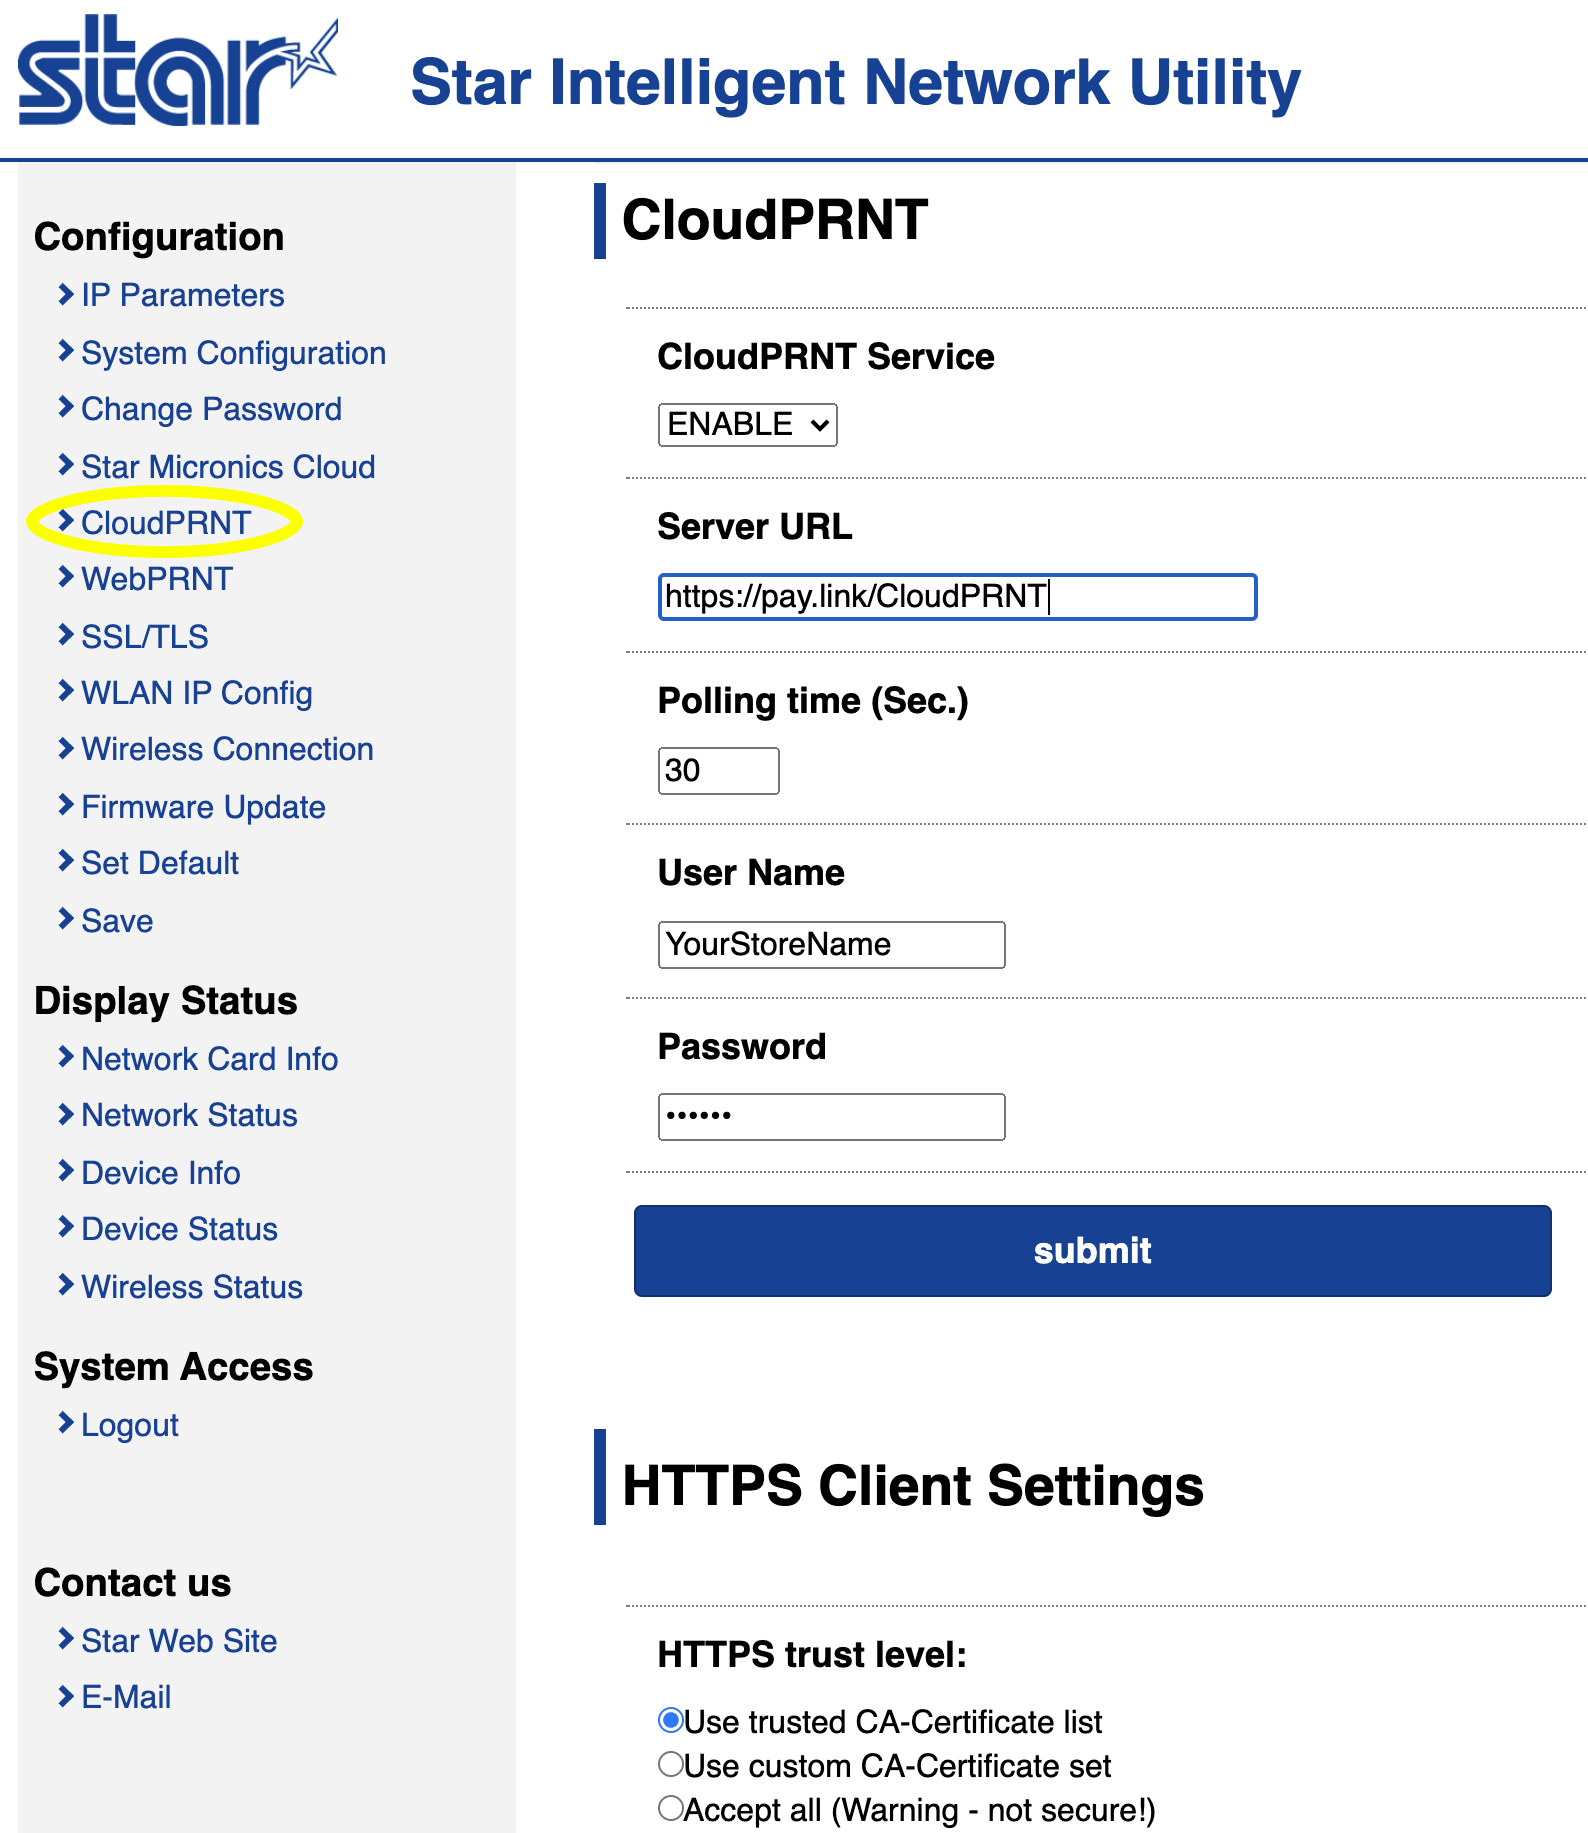
7. Under Network Configuration select CloudPRNT.
8. Set the CloudPRNT Service to "ENABLE" (see example in the image below).

9. Under Server URL enter https://pay.link/CloudPRNT
10. Under User Name enter the storename you use to log into your PayLink account.
11. Under Password enter the one-time 6 digit password located on the "Printer Settings" page located in the PayLink web portal.
12. Click Submit.
13. On the left-hand side click Save.
14. Click Execute. Your printer will now restart and connect itself to PayLink.

